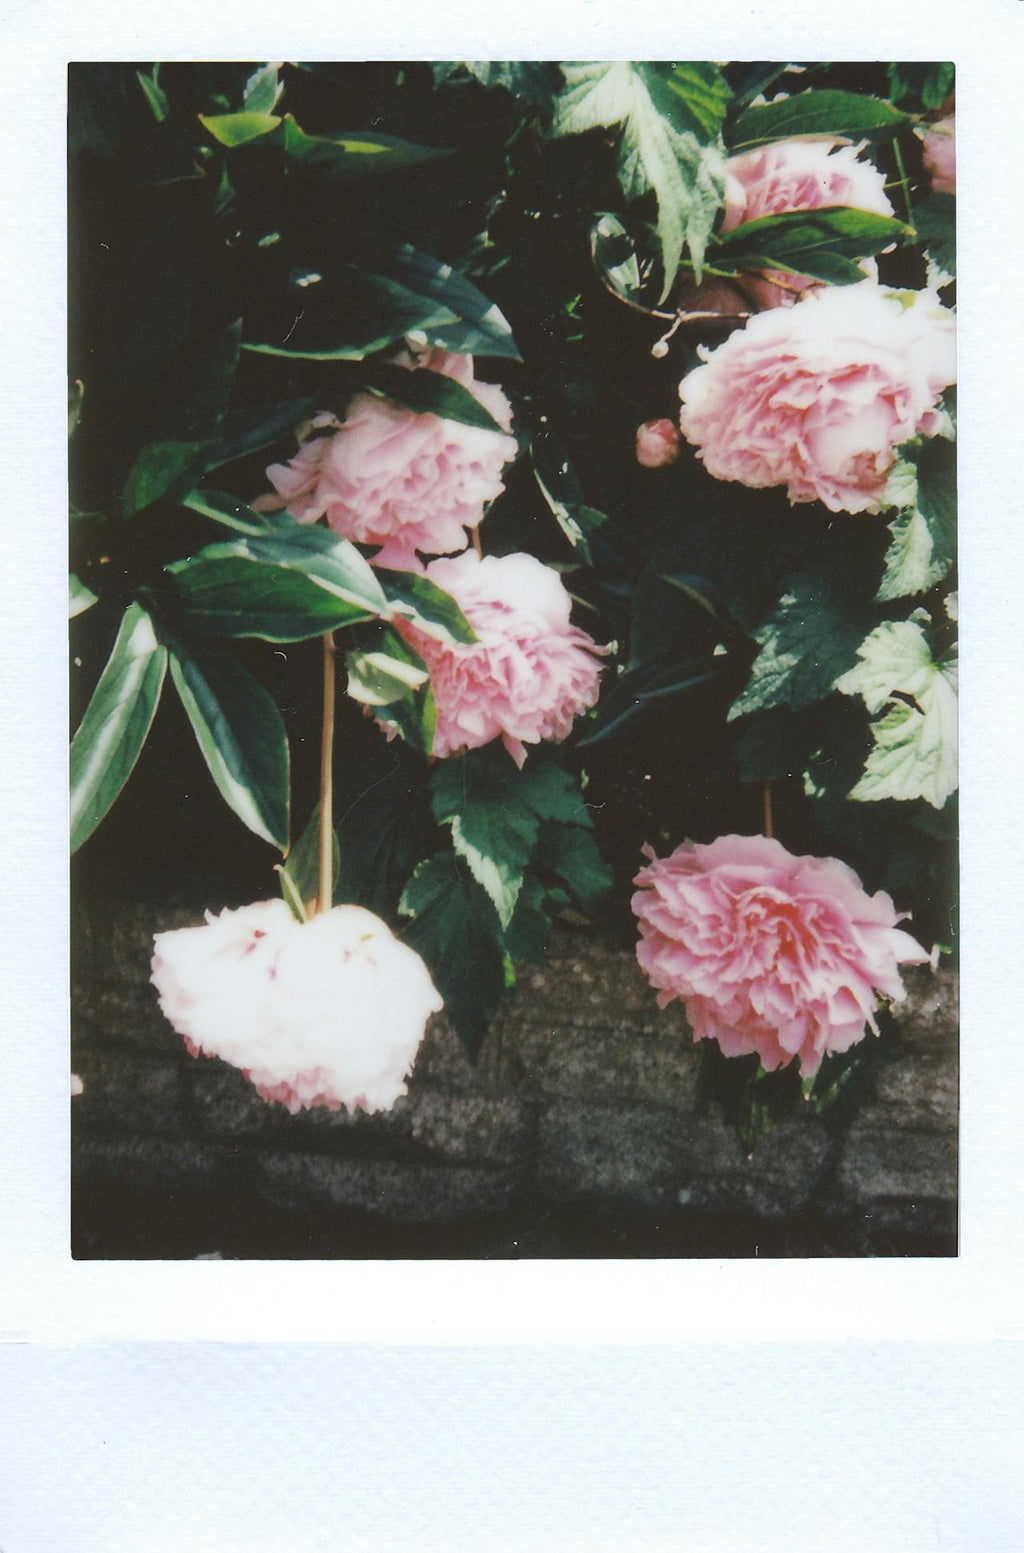
Filming a flower blooming using time-lapse photography requires patience, planning, and the right equipment. This Flowerbee Hong Kong florist guide will take you through the process step by step.
Step 1: Choose the Right Flower
Not all flowers bloom at the same speed. Some take hours, while others bloom over days. Consider flowers that bloom relatively quickly, such as:
- Morning Glories – Open in the early morning
- Tulips – Respond to sunlight
- Hibiscus – Open in a few hours
- Daisies – Unfold with the sunrise
If you want to capture a slower-blooming flower, like a rose or orchid, be prepared for a multi-day shoot.
Step 2: Select the Right Equipment
Camera Options
- DSLR or Mirrorless Camera – Offers high resolution and manual control
- GoPro or Action Camera – Some have built-in time-lapse features
- Smartphone – Many apps allow time-lapse photography (e.g., Hyperlapse, ProCam)
Tripod & Stabilization
- Use a stable tripod to prevent camera movement.
- If outdoors, protect the camera from wind.
Power Supply
- Plug into AC power for long recordings.
- Use extra batteries or a power bank for extended shoots.
Step 3: Set Up the Scene
Lighting
- Natural Light – Use indirect sunlight or a grow light to ensure consistent illumination.
- Artificial Light – Use LED or softbox lighting to avoid shadows and flickering.
- Avoid Flickering – Fluorescent lights may cause inconsistency in your time-lapse.
Background & Composition
- Choose a plain, non-distracting background.
- Position the camera at flower level to show the petals opening.
- Frame the shot with extra space to accommodate flower movement.
Step 4: Camera Settings & Interval Timing
Basic Camera Settings
- Manual Focus – Autofocus may shift unpredictably.
- Aperture (f/8 - f/16) – Ensures the entire flower is in focus.
- ISO (100-400) – Lower ISO reduces noise.
- Shutter Speed – Adjust based on lighting but keep steady exposure.
Time-Lapse Interval
The interval depends on the flower’s blooming speed:
| Blooming Time | Suggested Interval |
|---|---|
| 1-2 hours | 10-30 seconds |
| 6-12 hours | 1-5 minutes |
| 24+ hours | 5-15 minutes |
For multi-day time lapses, consider using a motion-controlled camera slider for dynamic movement.
Step 5: Start Recording & Monitor Progress
- Take a few test shots to ensure proper focus and exposure.
- Keep the environment stable – avoid temperature or lighting changes.
- Check footage periodically if possible.
Step 6: Post-Processing & Editing
Software for Editing
- Adobe Premiere Pro / Final Cut Pro – Professional editing
- LRTimelapse – Specialized for time-lapses
- iMovie / DaVinci Resolve – Free editing options
Editing Tips
- Adjust speed – Slow down or speed up the clip for best effect.
- Stabilization – Remove any minor shakes.
- Color correction – Enhance natural colors for better visuals.
- Add music or narration – Create a more engaging final video.
Final Tips for Success
✅ Be patient – Flower blooming can take longer than expected.
✅ Use consistent lighting – Avoid changes in brightness.
✅ Test your settings before starting a long time-lapse.
✅ Have backup storage – Large time-lapses use a lot of space.
✅ Enjoy the process – Watching nature unfold is rewarding!
With the right preparation, your time-lapse of a blooming flower will be mesmerizing.


